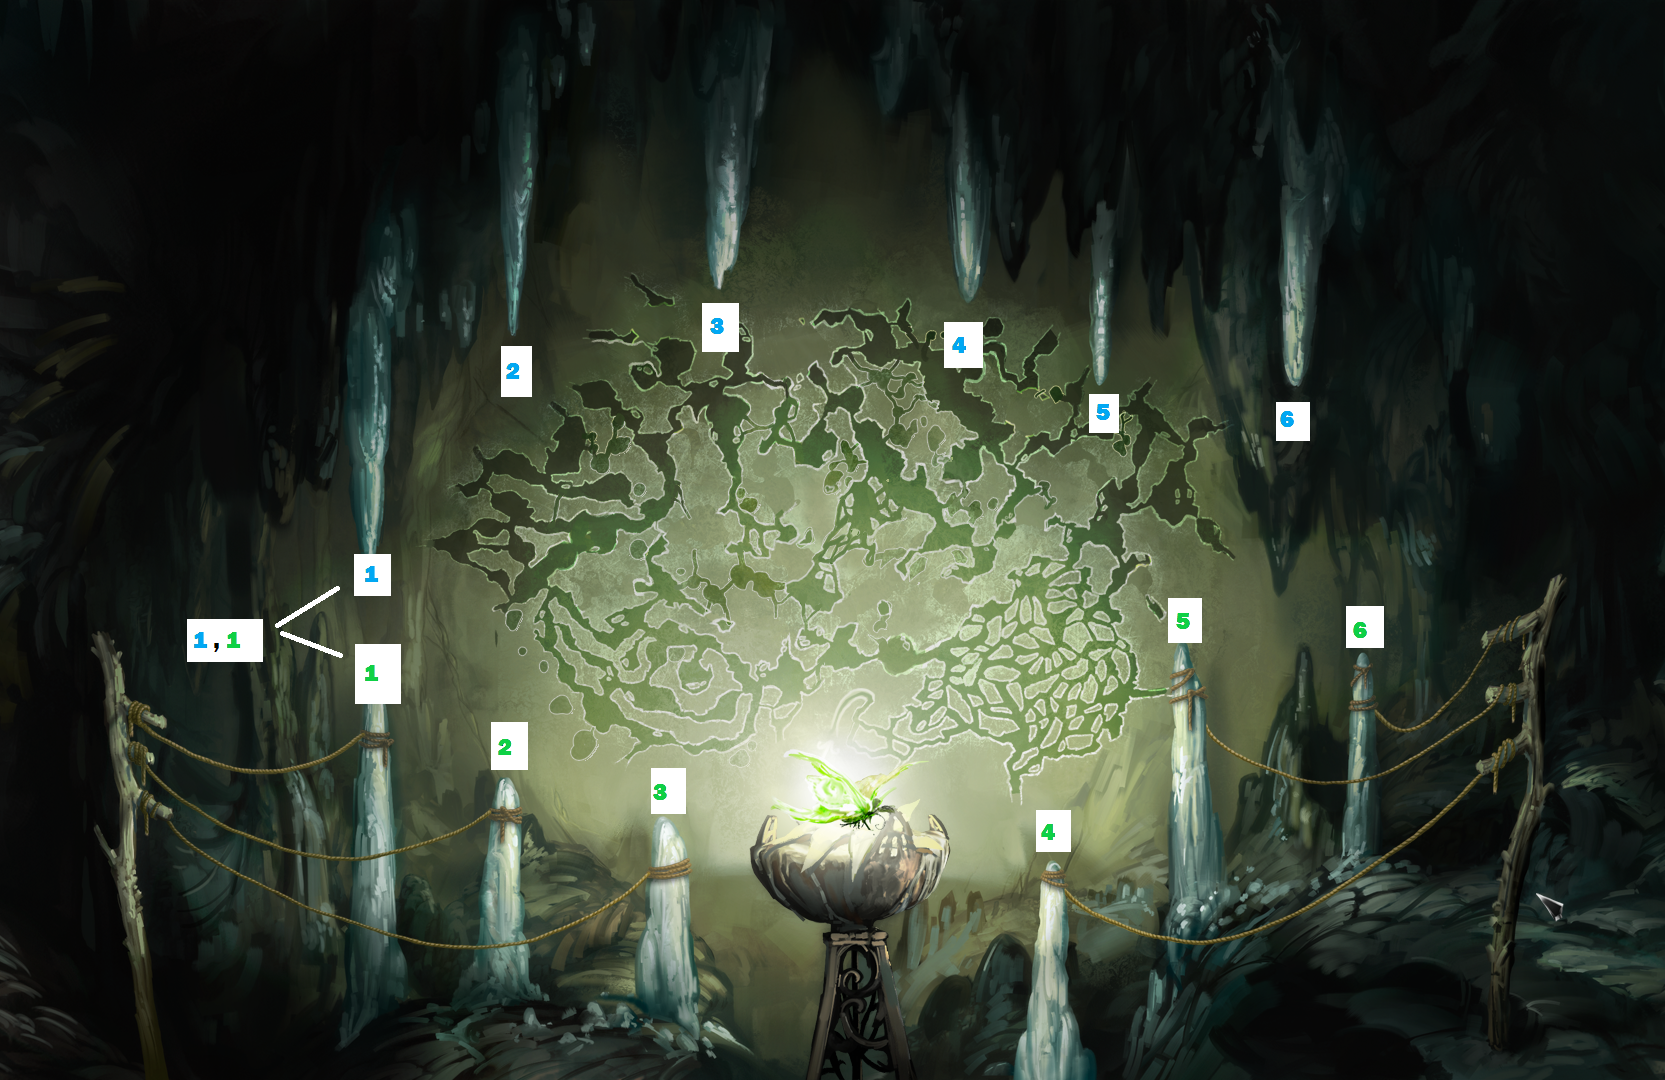
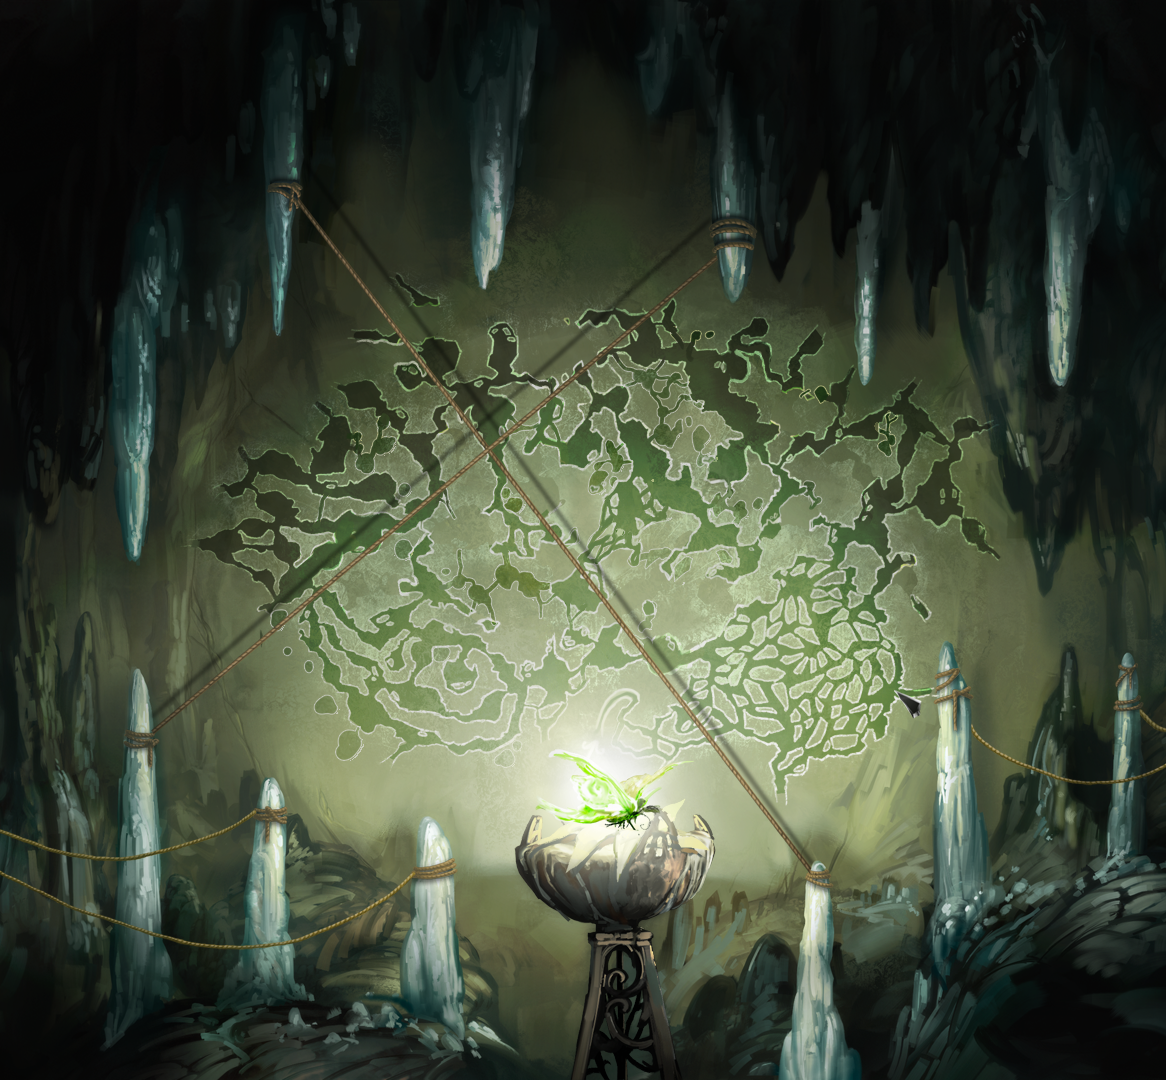
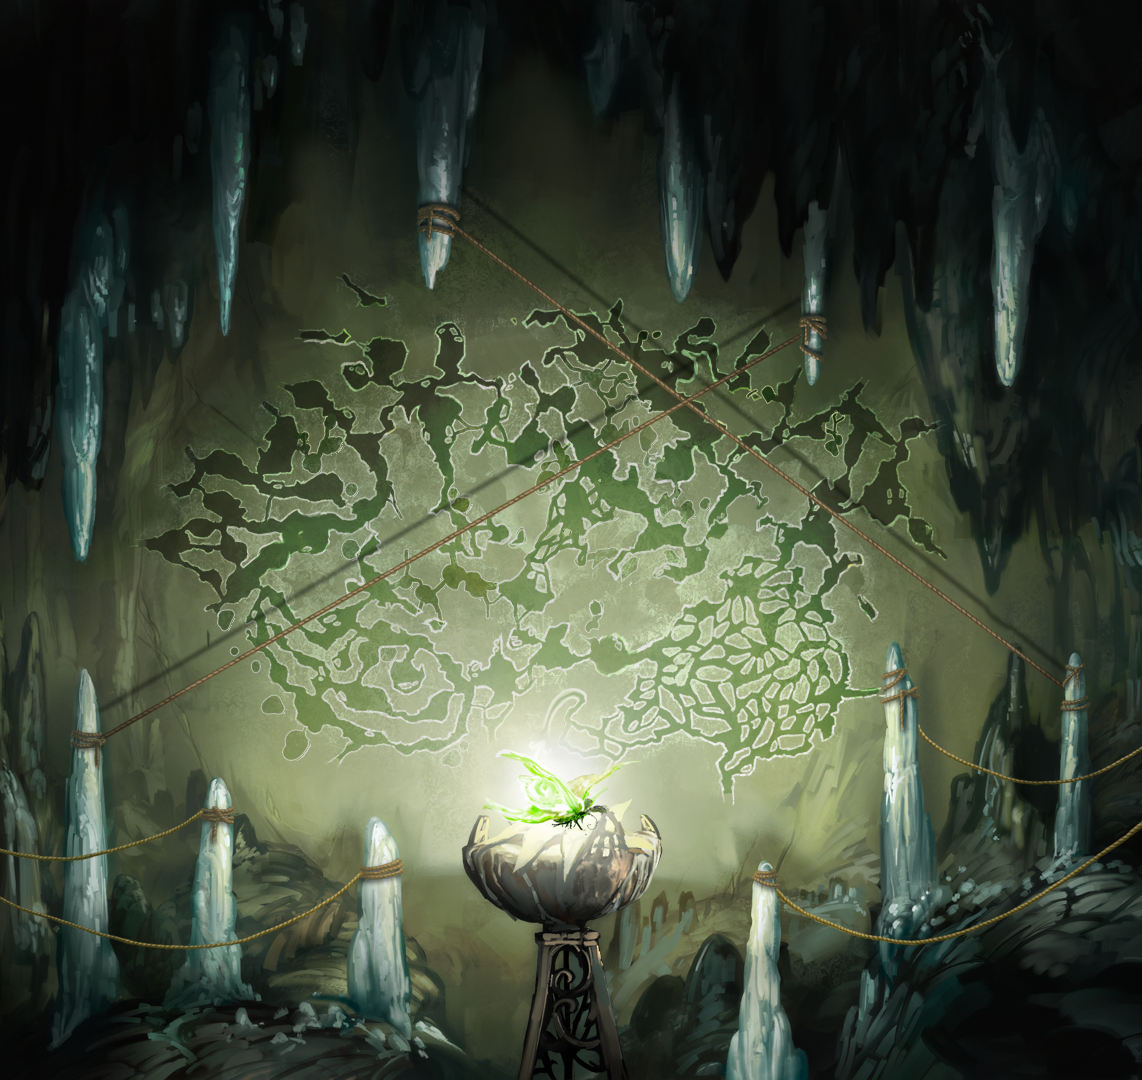
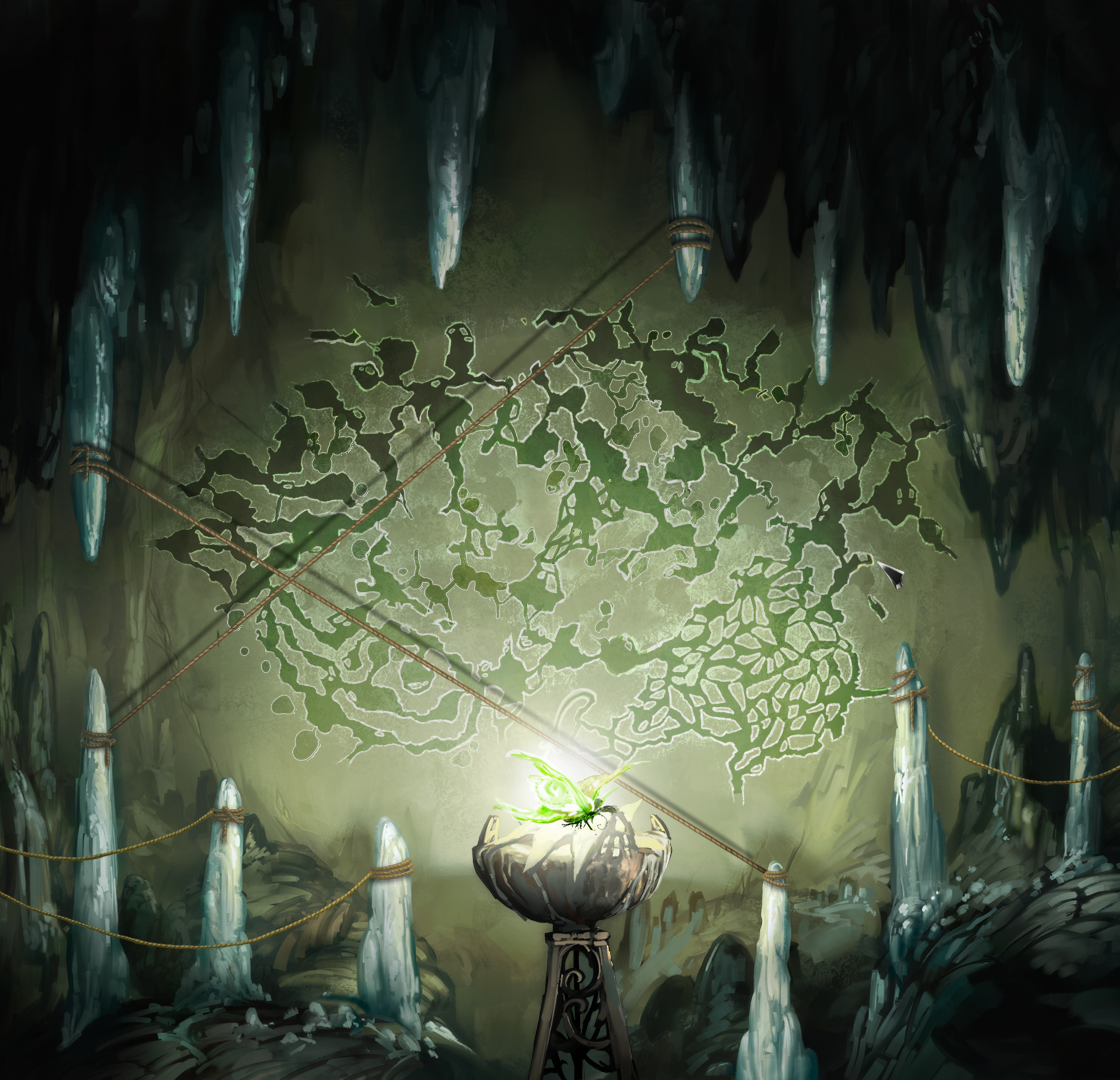
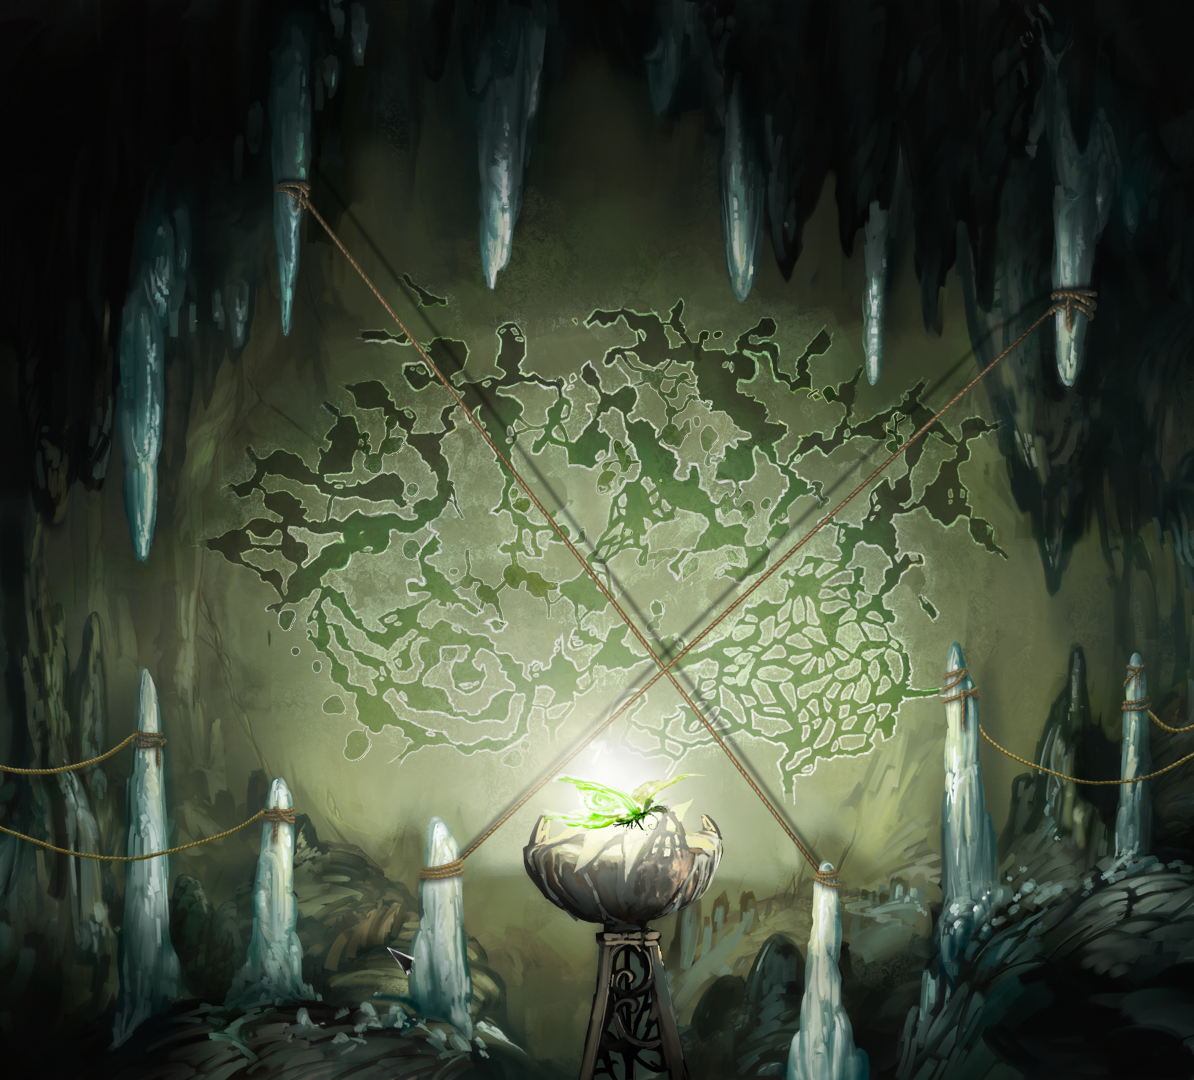
Twisting tunnels, ropes, stalagmites and dripstones... odd.
The map doesn't make much sense on its own; there must be something else in the cave that can help us decipher it.
The caves are complex - if you had a physical object that helped you navigate them, you'd probably want to keep it safe.
Check the more secure spots of the cave.
Open the chest on the left side of the cave, then take one of the stone tablets inside.
Bring it to the map and right-click on it in your inventory to get a closer look.
It seems like a rudimentary co-ordinate system; the "1 x 4" combined with "4 x 1" must be the location of a mine.
When we look at the map, there are six stalagmites and six dripstones. The co-ordinates never go above 6, so they must factor into this somehow.
There are several ropes tied to the stalagmites; they can be adjusted by left-clicking the wooden posts, and then placed onto the dripstones.
In "1 x 4", the 1 represents the first dripstone.
In "1 x 4", the 4 represents the fourth stalagmite.
In "4 x 1", the 4 represents the fourth dripstone.
In "4 x 1", the 1 represents the first stalagmite.
Click on the first quickhint to see everything labelled, and second quickhint to see the first puzzle solved for you.
Click on the quickhint to see the tablet - this'll be useful if you have a second monitor.
Click on the quickhint to see the puzzles completely solved.
We've figured out where the explorer is! Proceed into the caves via the passageway on the right.
Oh, that's right, Geron has a terrible memory. Find a way to write down the directions.
You already picked up some paper earlier, so we just need a way to write on it.
No, not knife - something closer to a pencil.
Something often burned that's coincidentally useful for writing on things.
Grab some charcoal from the burnt-out fire, then write directions onto the paper we picked up earlier.
Perfect; written directions. Now, deep into the caves we go!